Experience the perfect balance of performance and price with the new Mimosa C6x Lite Edition — built for today, ready for tomorrow.

In the second part of our “how-to” series, we wanted to share some tips on how we recently built an off-the-grid solar site in the hills overlooking Monterey Bay.
Our customer was looking to connect their remote farm and a nearby campsite to a site in Carmel Valley. We started by focusing on the actual dish deployment, using our Design Tool to configure the network. We then moved onto designing and deploying the solar power grid.
We had some strict criteria to follow. The land owner wanted to make sure that the panels wouldn’t be visible from Highway 1 or from the beach, following Coastal Commission guidelines. We therefore had to keep the panels low to the ground. The mounting rails that came with the panels clearly wouldn’t work on the ground as they were designed for flat roof deployments.
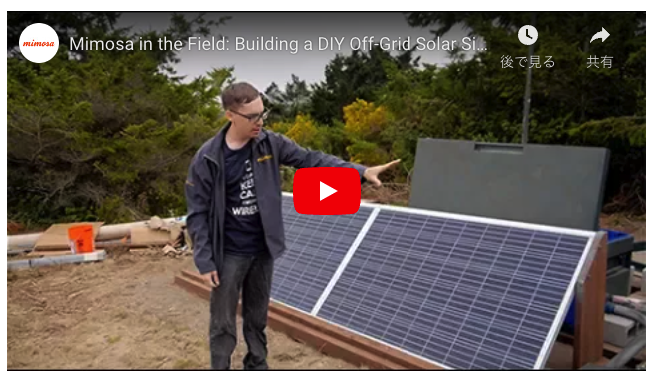
We drew out a design using 2x4s for the frames. The initial plan was to sit the panels into the frames and use existing screw holes to secure the panels. Since the panels were framed with aluminum, we ultimately decided to screw straight through the panel framing into a vertical 2x6 (pressed and treated redwood).This vertical 2x6 was then cleated at the bottom with a 2x4 (same pressed and treated redwood) to make an L. This L was screwed together and then screwed down into the base. The base is also treated redwood but it’s a 4’x10’x10” piece. We then mimicked that setup on the other side of the antenna with the other panel deployment. We have created a short video to demonstrate this configuration.
A couple of other notes. We ran the cables through conduits to the main power and equipment box and installed breakers so that the power could be shut down at a particular point or completely. We also added fans to the box to maintain a constant temperature.
You can view photos from beginning to end of our deployment and testing here:
The technical details for the solar deployment are as follows:
Please note: Mimosa devices with external surfaces that have been painted, labeled, or otherwise modified from the original shipping condition are out of warranty (http://mimosa.co/legal/warrant...)
Experience the perfect balance of performance and price with the new Mimosa C6x Lite Edition — built for today, ready for tomorrow.